
Sterling silver jewellery has long been cherished for its timeless elegance and versatility. One innovative method of crafting sterling silver jewellery is through the use of metal clay. This process combines the craftsmanship of traditional jewellery making with the creative flexibility of a malleable medium. In this article, we'll explore the fascinating process of making sterling silver jewellery using metal clay, including the necessary tools, techniques, and steps involved.
What is Metal Clay?
Metal clay is a versatile crafting material that consists of fine metal particles, organic binders, and water. When these components are combined, they form a pliable clay-like substance that can be shaped and sculpted just like traditional clay. Once fired in a kiln, the binder burns away, leaving behind pure metal. For sterling silver jewellery, the metal clay used is specifically formulated to contain a mix of silver, typically 92.5% pure silver (hence the term "sterling silver") and 7.5% other metals, usually copper.

Understanding Metal Clay: Composition and Properties
Metal clay is a revolutionary material that has transformed the way jewellery is crafted, offering artists and jewellers an unparalleled level of creativity and flexibility. This material consists of fine metal particles, organic binders, and water, which combine to create a substance that behaves like traditional clay but ultimately transforms into pure metal upon firing. Understanding the composition and properties of metal clay is essential to mastering its use in creating sterling silver jewellery.
Composition of Metal Clay
Fine Metal Particles:
Base Material: The primary component of metal clay is fine metal particles. These are ultra-fine granules of a specific metal, such as silver, gold, copper, or bronze. For sterling silver jewellery, the metal clay is made up of fine silver particles (usually 99.9% pure silver) and other alloying metals like copper to achieve the desired sterling silver composition (92.5% silver and 7.5% other metals).
Particle Size: The metal particles are ground into an extremely fine powder, often microns in size, which allows them to blend seamlessly with the other components of the clay. This fine granulation is crucial for achieving a smooth texture and ensuring that the metal particles sinter (fuse) together during firing.
Organic Binders:
Function of Binders: The binders in metal clay are organic compounds that hold the fine metal particles together, giving the clay its characteristic pliability and mould-ability. These binders are typically cellulose-based or made from other natural materials that burn off completely during the firing process, leaving no residue or impurities in the final metal product.
Types of Binders: While the exact formulation of binders can vary between different brands and types of metal clay, they are designed to be non-toxic and easy to handle, making the clay safe and convenient to use in various environments, including home studios.
Water:
Role of Water: Water acts as a solvent in metal clay, dissolving the binders and allowing the metal particles to be suspended in a homogenous mixture. It also gives the clay its pliable, dough-like consistency, which makes it easy to shape, sculpt, and mould.
Evaporation and Drying: As the clay is worked, water can evaporate, causing the clay to dry out. Keeping the clay moist during the sculpting process is essential to prevent cracking and to maintain flexibility. Water can also be added to the clay if it starts to dry out, allowing the artist to re-hydrate and continue working with it.
The Pliability of Metal Clay
One of the most appealing aspects of metal clay is its pliability. The combination of fine metal particles, organic binders, and water creates a material that can be shaped and sculpted with relative ease. This pliability makes metal clay an excellent medium for both beginners and experienced jewellers, as it can be manipulated in ways that traditional metalworking processes cannot easily achieve.
Shaping and Sculpting: Metal clay can be rolled out into sheets, cut into shapes, moulded, and textured using a variety of tools. This allows for intricate designs and patterns that might be difficult or time-consuming to achieve through traditional metalworking techniques like casting or forging.
Flexibility: The clay remains flexible and workable for an extended period, depending on the ambient temperature and humidity. This flexibility is particularly useful for creating detailed pieces with multiple components, as it allows the artist to adjust and refine their work before it is dried and fired.
Repair-ability: If mistakes are made or if the clay dries out before the piece is complete, the artist can simply re-hydrate the clay with water, making it soft and pliable again. This re-usability reduces waste and allows for experimentation and adjustment throughout the creative process.
The Firing Process: Transforming Clay into Metal
The transformation of metal clay into solid metal occurs during the firing process. This is where the magic of metal clay truly reveals itself, as the binder burns away, and the fine metal particles fuse together to form a dense, solid metal piece.
Burning Off the Binder: During firing, the organic binders in the clay combust and vaporise. This process typically begins at lower temperatures and is completed as the kiln reaches its peak firing temperature. The combustion of the binder is crucial because it creates the space for the metal particles to come into direct contact with each other.
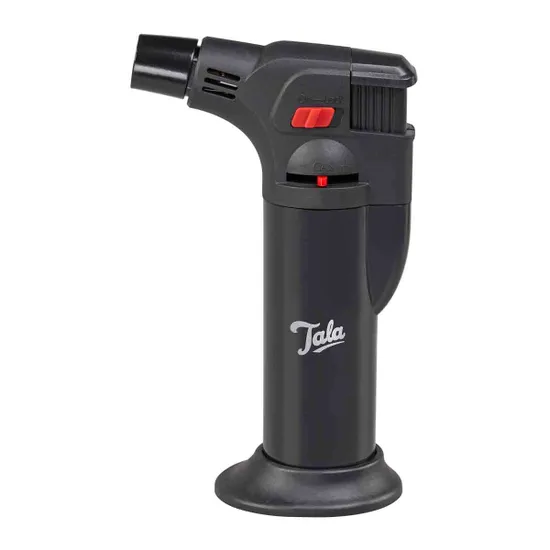
Or you may choose to use a gas filled blow torch for this method making sure you have your dried clay jewellery piece on a flame retardant block and carefully move the burner over your clay until the colour changed to a salmon pink. Over burning will result in your clay bubbling and melting. So do try and be very watchful and careful with this process making sure you understand the health and safety surrounding this particular choice of burning off the binder.
Sintering: As the temperature continues to rise, the metal particles begin to sinter. Sintering is the process by which the metal particles fuse together at a molecular level, without fully melting. This fusion transforms the once pliable clay into a solid, durable piece of metal. For sterling silver clay, this process typically occurs at around 1650°F (900°C) in a kiln.
Solid Metal Formation: Once the sintering process is complete, the result is a piece of pure or alloyed metal, depending on the type of clay used. In the case of sterling silver clay, the final product is a piece that is 92.5% pure silver and 7.5% copper or other metals. This composition gives the piece the strength and durability associated with sterling silver, while still retaining the intricate details and textures created during the sculpting process.
Sterling Silver Metal Clay

Sterling silver metal clay is specifically formulated to meet the traditional standards of sterling silver jewellery, which is 92.5% silver and 7.5% other metals, usually copper. This formulation balances the work-ability of the clay with the strength and lustre of the final metal product.
Work-ability: The addition of copper to the silver particles in the clay provides increased strength and durability, both during the sculpting process and in the final fired piece. This allows for the creation of delicate, fine jewellery that can withstand daily wear.
Oxidation Considerations: Copper, being more reactive than silver, can oxidise during the firing process, potentially leading to a slight discoloration or patina on the surface of the fired piece. This can be removed through polishing or can be left intact for an antiqued look, depending on the desired finish.
Final Finish: After firing, sterling silver metal clay can be polished to a high shine, oxidised to bring out details, or treated with various patinas and finishes to achieve a wide range of aesthetic effects. The versatility of sterling silver clay makes it a favourite among jewellery makers for both its work-ability and the beauty of the finished product.
Advantages of Using Metal Clay for Jewellery Making
Metal clay offers numerous advantages over traditional metalworking techniques, particularly for small-scale jewellers, hobbyists, and artists who want to explore metalwork without investing in extensive equipment.
Ease of Use: Metal clay can be worked with relatively simple tools and does not require the extensive training or experience that traditional metalworking techniques often demand. This accessibility allows more people to experiment with metalwork and create their own jewellery.
Detail and Precision: The fine texture and pliability of metal clay enable the creation of highly detailed and intricate designs that would be challenging to achieve through traditional casting or fabrication methods. Artists can easily incorporate textures, patterns, and even three-dimensional elements into their work.
Lower Investment in Equipment: While a kiln is not necessary for firing by using a blow torch instead, the other tools required for working with metal clay are generally affordable and less specialised than those used in traditional metalwork. This makes metal clay an attractive option for those just starting out in jewellery making.
Versatility: Metal clay is not limited to silver; it is available in a variety of metals, including gold, bronze, copper, and even steel. This allows artists to experiment with different materials and expand their creative possibilities.
Conclusion
Metal clay, particularly sterling silver metal clay, has revolutionised the art of jewellery making by offering a medium that combines the beauty and durability of precious metals with the versatility and ease of use of traditional clay. Its unique composition—comprising fine metal particles, organic binders, and water—enables artists to create detailed, intricate designs that are then transformed into solid metal through the firing process.
Whether you are a seasoned jeweller or a hobbyist exploring new creative avenues, working with metal clay opens up a world of possibilities. By understanding the properties and process of metal clay, you can create stunning sterling silver jewellery that is both beautiful and enduring.
Before diving into the process, it’s essential to gather all necessary tools and materials. Here’s a comprehensive list:
Tools Needed.
Basic Tools
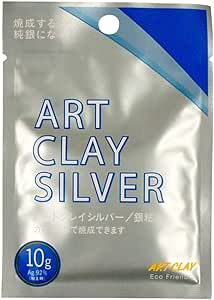
Metal Clay: Available in various forms such as soft clay, paper clay, and paste. For sterling silver jewellery, choose high-quality silver metal clay.
Work Surface: A clean, non-stick surface like a ceramic tile or glass mat to work on.
Clay Tools: These include shaping tools, sculpting tools, and texture tools. Common tools are shaping sponges, rubber stamps, and various cutters.
Rolling Pin: For flattening the clay to the desired thickness.
Craft Knife: For cutting and trimming the clay.
Texturing Tools: Items like texture sheets or rubber stamps to add patterns and textures.
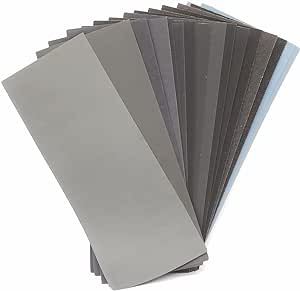
Sanding and Polishing Tools: Sandpaper or sanding pads in various grits, and polishing cloths or wheels to refine the surface.
Kiln or Blow Torch: Essential for firing the clay to convert it into solid silver.
Tongs: To handle hot pieces safely.
Sieve or Strainer: For preparing and sifting the clay, if using powdered metal clay.
Water and Sprayer: To keep the clay moist and workable.
Adhesives: Special metal clay adhesive or paste to join pieces if needed.
Glazing Tools: Optional tools for applying a final finish or sealant.


Above is a gallery of tools that I wouldn't be without and these can be purchased easily from Amazon.
Optional Tools
Micro Torch: An alternative to the kiln for small pieces or for all of your pieces.
Digital Scale: For precise measurement of clay and components.
Magnifying Glass: For detailed work on intricate designs.
The Process of Making Sterling Silver Jewellery with Metal Clay
1. Designing and Planning
Before you start working with metal clay, plan your design. Sketch out your ideas, considering the size, shape, and details of your jewellery piece. This is also the stage where you determine if you will need any additional components, like gemstones or findings.
2. Preparing the Metal Clay
If Using Lump Clay:
Conditioning: Knead and condition the clay to make it pliable. This process is similar to working with traditional clay and ensures an even texture.
If Using Powdered Clay:
Mixing: Combine the metal clay powder with water to achieve the desired consistency. Use a sieve to ensure the powder is lump-free.
3. Shaping and Sculpting
Rolling: Use a rolling pin to flatten the clay to the desired thickness. Be consistent in thickness to ensure even firing and a professional finish.
Cutting and Moulding: Use cutters, moulds, or templates to shape the clay. You can create intricate designs using texture tools or by imprinting patterns.
Assembling: If creating a piece with multiple parts, use metal clay adhesive or paste to join pieces together. Ensure all joints are secure and smooth.
4. Drying
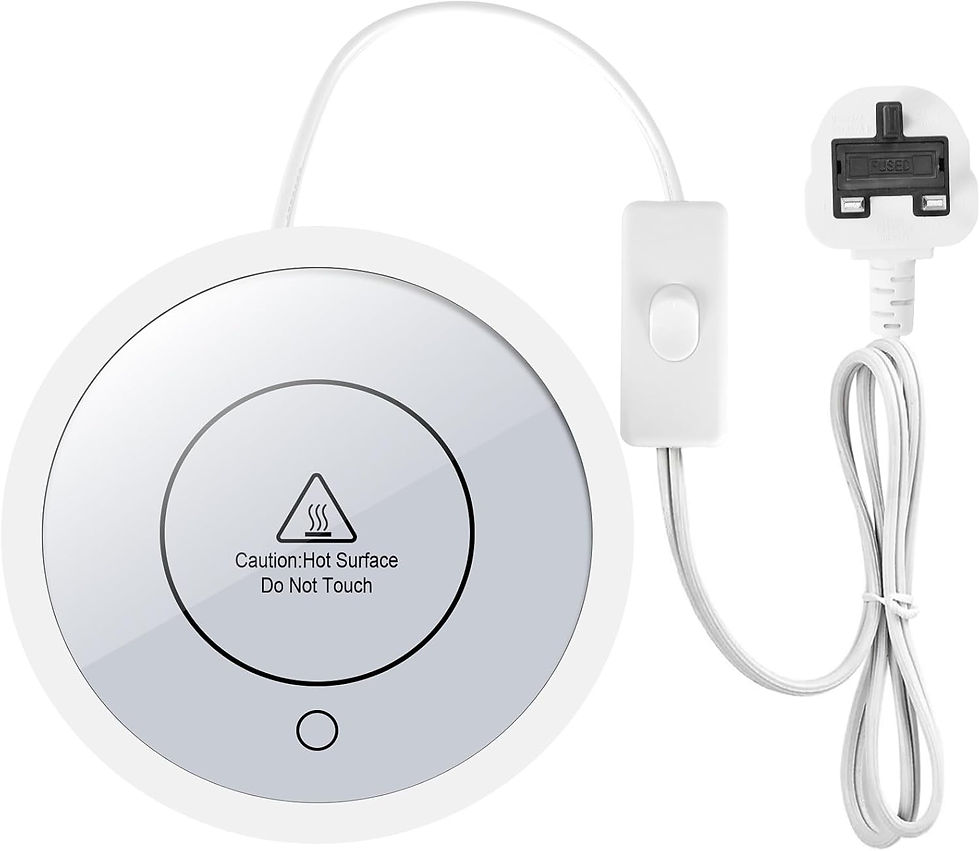
Allow the shaped clay to dry completely. This can take several hours to overnight, depending on the humidity and size of the piece. Ensure the piece is placed in a dust-free environment. Or, I lay my jewellery piece to dry on an electric coffee warmer for about ten minutes.
5. Refining
Sanding: Once dry, sand the piece using various grits to smooth out any imperfections and refine details. This step is crucial for achieving a polished finish.
Polishing: Use a polishing cloth or wheel to enhance the shine. For intricate designs, a small rotary tool with polishing attachments can be useful.
6. Firing
Kiln Firing: Place the dried piece in a kiln, following the manufacturer’s instructions for temperature and duration. Firing temperatures for silver metal clay are usually around 1650°F (900°C). The binder will burn away, leaving behind solid silver.
Alternative Firing (Micro Torch): For smaller pieces, you can use a micro torch. This method requires careful attention to avoid overheating or uneven firing.
7. Post-Firing Treatment
Cleaning: After firing, clean the piece to remove any residual kiln wash or oxidation. Use a gentle abrasive or polishing solution.
Further Polishing: If necessary, polish the piece again to achieve a high shine.
8. Final Touches
Setting Stones: If your design includes gemstones, set them using appropriate techniques. This might involve additional firing or using metal clay paste.
Assembling Components: Attach any findings like clasps or chains if your design includes them.
Tips for Success
Practice: Start with simple designs to familiarise yourself with the properties of metal clay.
Ventilation: Ensure proper ventilation when using a kiln or torch.
Precision: Take your time with detailed work to avoid mistakes.
Experiment: Don’t be afraid to try different textures, shapes, and techniques.
Conclusion
Creating sterling silver jewellery with metal clay is a rewarding and creative process that allows for a high degree of personal and artistic expression. By understanding and mastering the steps involved—from preparing and shaping the clay to firing and finishing—you can craft unique and beautiful pieces that showcase the elegance of sterling silver. Whether you are a hobbyist or a professional jeweller, mastering metal clay opens up a world of possibilities for crafting stunning jewellery designs.
Since I discovered metal clay (about two years ago), I have become addicted, especially in the art of ring designing and making. The possibilities are endless.
I tend to buy my metal clay from Amazon and please do be careful with how much you use for each jewellery project as it is a very very expensive hobby. Also i prefer to use a blow torch for burning off the binder from the clay ( the process that actually tuns you piece from clay to silver. I also use a brass wired brush to release a lot of the dust before sanding down.
Also my number one tip is: always wrap your remaining clay that you are not using in cling film so it stays lovely and fresh and doesn't dry out.
My number two tip is: purchase some silicone fondant moulds. These are perfect for sizing pendants and to give you detailing if you find you are lacking in designing skills and artistic flair. Or collect some beautiful leaves and flowers from mother nature and make some beautiful impressions in your clay.

My number three tip is: use a little Badger Balm to oil your fingers and hands when using your clay to help keep it moist as you are working with it.

My number four tip is: A good surface for and roller for you clay is using acrylic. this is so easy to clean and if you use a little badger balm on your hands when handling the clay this will help to prevent your clay sticking.

There are many very good and interesting you tube videos on how to use metal clay and I would suggest watching a few of them before you begin if you have never worked with this material and process before. And also many books available on this subject that will give you a helping hand along the way.
I did three months of watching videos. reading and researching before I finally braved the metal clay craft. There was always a doubt in my mind, even though I have been using silver and other metals for many years in my jewellery making, that I would not "be good enough".
I encouraged myself, I talked to myself and I tried it!
I'm so glad that I did.
If you have any questions along your metal clay journey then please do drop me an email at clawabear@gmail.com
I would be very happy to answer any questions and cheer you along!
Sending you much love and light as always,
ClawaBear.
Comments